

This post may contain affiliate links. If you buy through them, I may earn a small commission at no extra cost to you.
Homemade sauerkraut, crunchy pickles and tangy yogurt might sound like old-fashioned kitchen projects, and they are! Fermenting is one of the oldest ways to preserve food. It’s also easier than you might think. With a few jars, some salt and a little patience, you can make tasty fermented foods right on your counter.
Here’s a simple, beginner-friendly guide to fermenting at home.
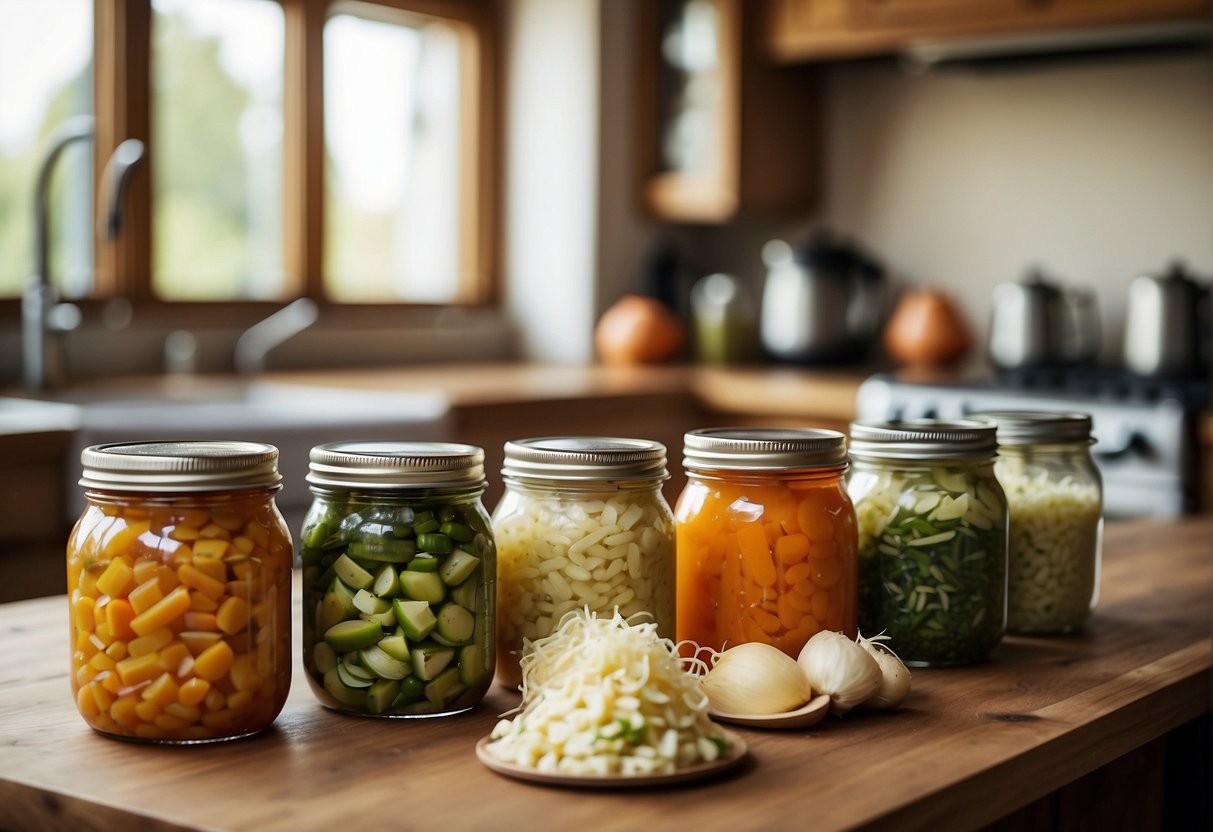
What is fermentation?
Fermentation happens when good bacteria and yeasts break down the natural sugars in food. In vegetable ferments like sauerkraut, a salty environment keeps harmful bacteria away while helpful bacteria turn the food tangy and preserve it.
What you’ll need
- Clean glass jars, like wide-mouth mason jars.
- Salt without iodine or anti-caking agents, such as pickling salt, kosher salt or sea salt.
- Fresh vegetables.
- A weight to keep vegetables under the brine, like a small glass weight or a clean zip bag filled with brine.
- A cloth or loose lid to cover the jar while it ferments.
Easy first ferment: simple sauerkraut
- Slice one medium head of cabbage (about 2 pounds) very thinly. Save one large outer leaf.
- Salt it. Sprinkle about 1 tablespoon of salt over the cabbage (roughly 1½ teaspoons per pound).
- Massage the cabbage with clean hands for 5 to 10 minutes until it softens and releases liquid. Kids love this part!
- Pack it tightly into a clean jar, pressing down until the liquid rises above the cabbage. Leave a couple of inches of space at the top.
- Cover the cabbage with the saved leaf and add a weight so everything stays under the brine.
- Ferment at cool room temperature, out of direct sun, for about 1 to 4 weeks. Press it down each day and taste it starting around day 7.
- Refrigerate once it tastes tangy enough for you.
More easy ferments to try
- Fermented pickles: cucumbers, garlic and dill in a salt brine.
- Fermented carrot sticks: a great kid-friendly snack.
- Homemade yogurt: made with milk and a spoonful of plain yogurt with live cultures.
- Quick refrigerator pickles: not technically fermented (they use vinegar), but a fun, fast way to start.
Safety tips
- Start with clean hands, jars and tools.
- Keep vegetables fully under the brine. That’s what keeps them safe.
- A little white film on top (kahm yeast) is common and can be skimmed off, but if you see fuzzy mold, pink or slimy texture, or smell anything rotten, throw the batch out. When in doubt, toss it.
- Follow a tested recipe, especially when you’re just starting.
- If you’re pregnant, have a weakened immune system or have health concerns, check with your doctor before eating home-fermented foods.
Fermenting FAQ
How do I know when my ferment is ready?
Taste it! When it’s pleasantly sour and the texture is how you like it, move it to the fridge to slow fermentation.
How long do fermented vegetables last?
Kept in the fridge and under the brine, many fermented vegetables last for months. Always check that they still look and smell good before eating.
Looking for more easy kitchen ideas? Browse my family recipes or the well-stocked pantry guide.
You might also like:
Leave a Reply